Fair Shine industrial (Hong Kong) Co., Limited
To provide customers with the most comprehensive precision mold parts solutions.

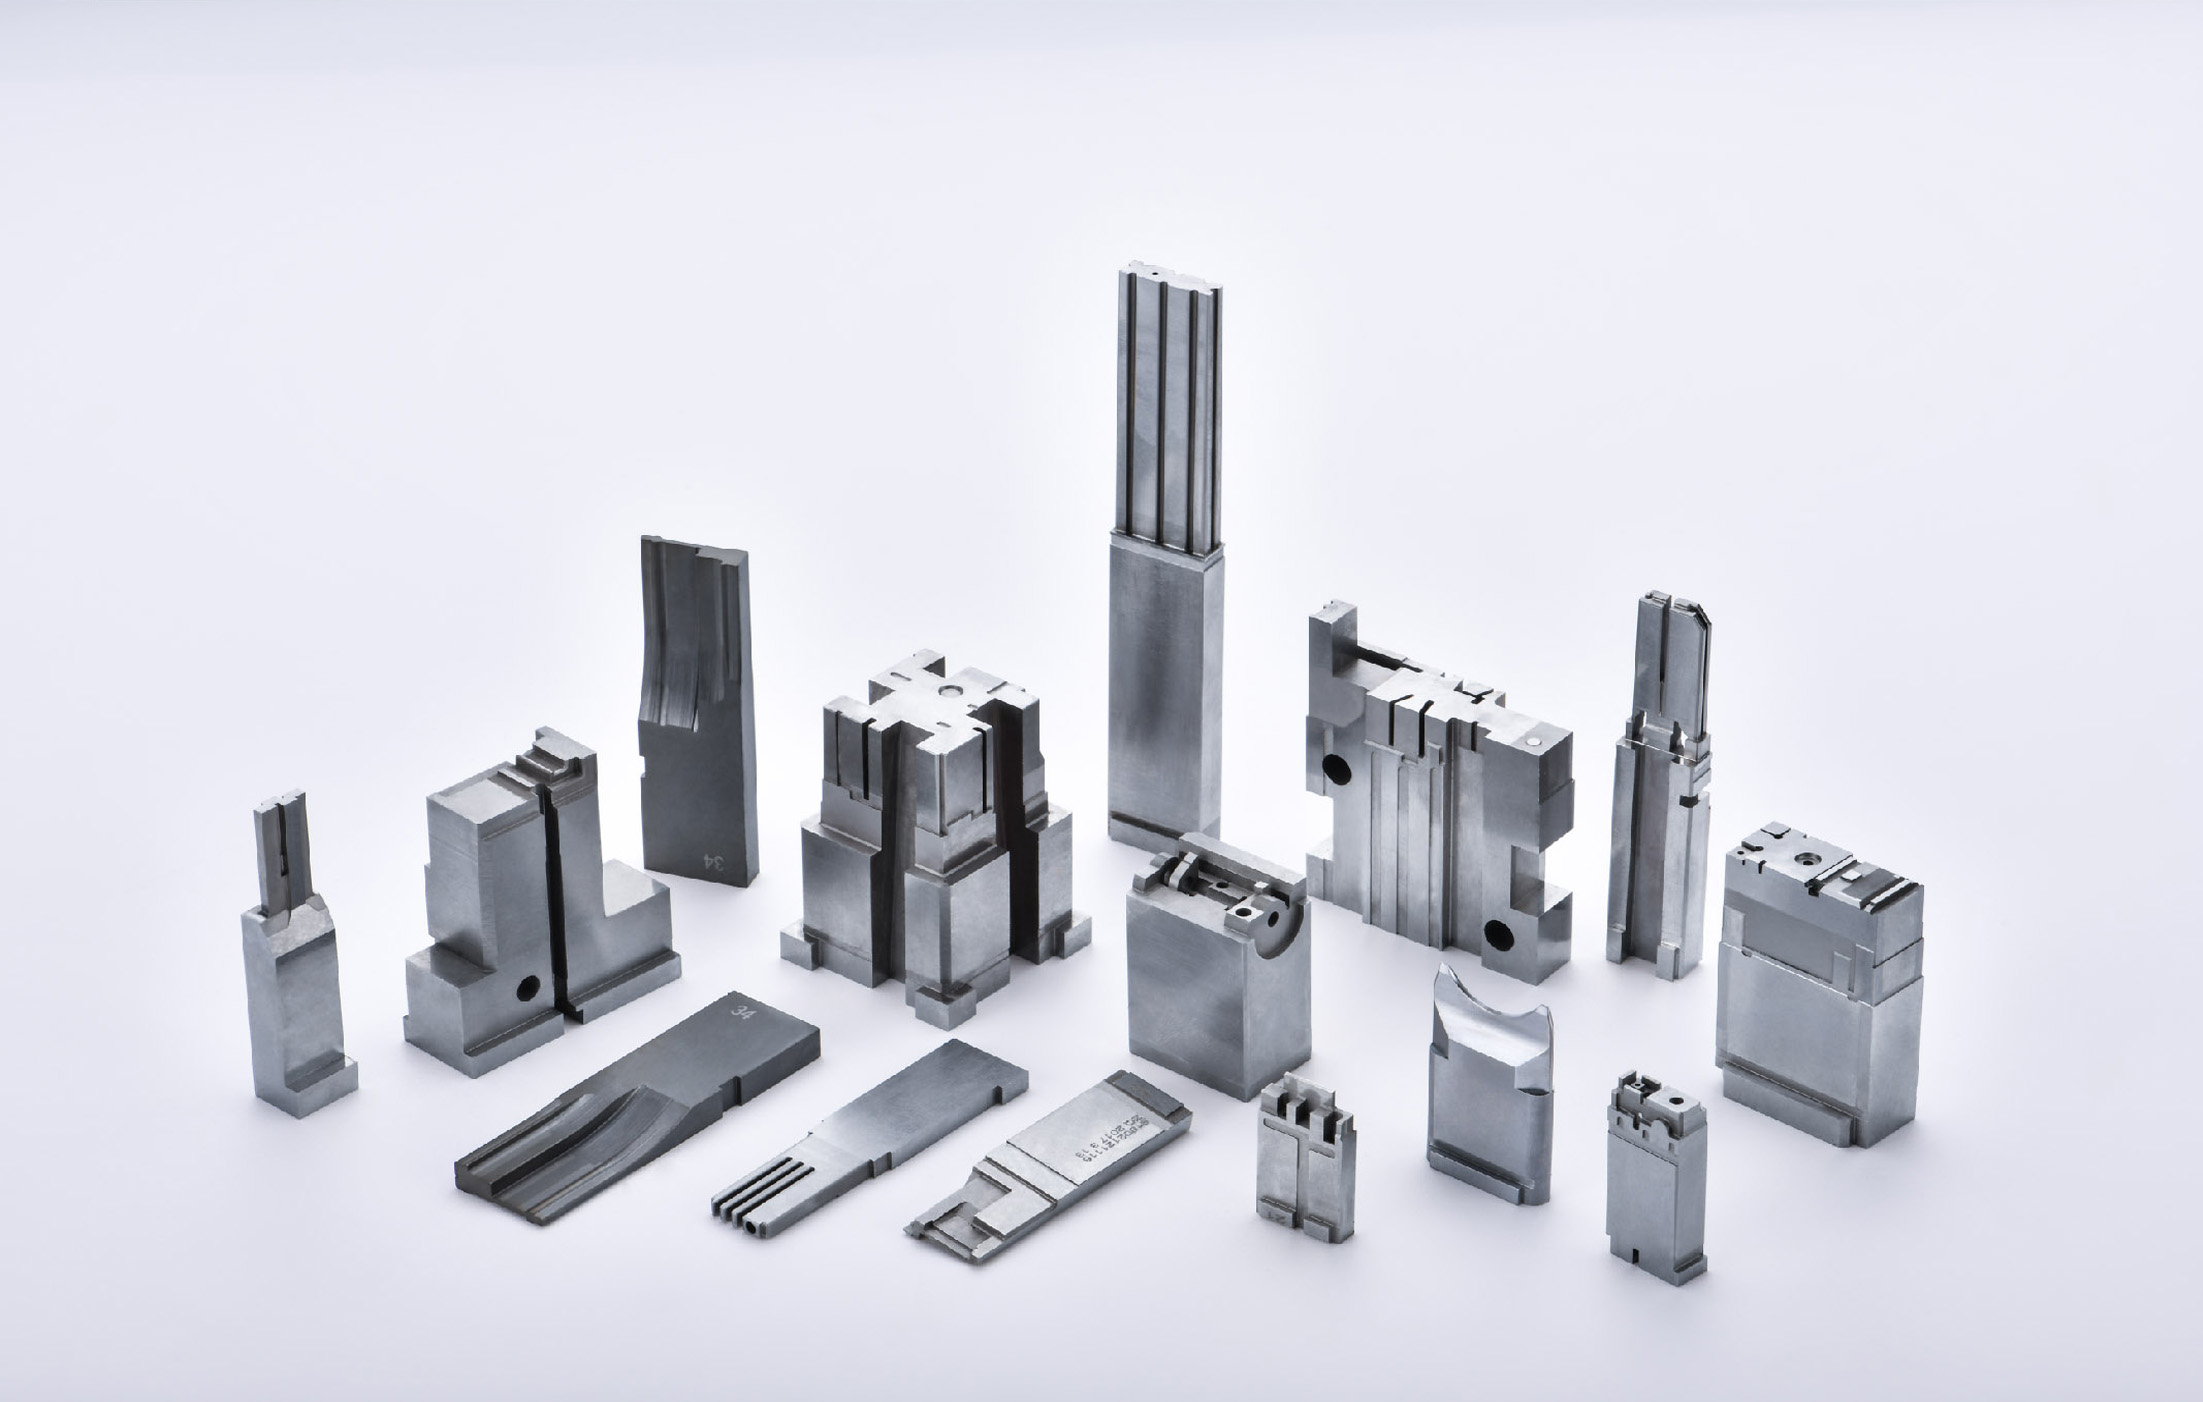
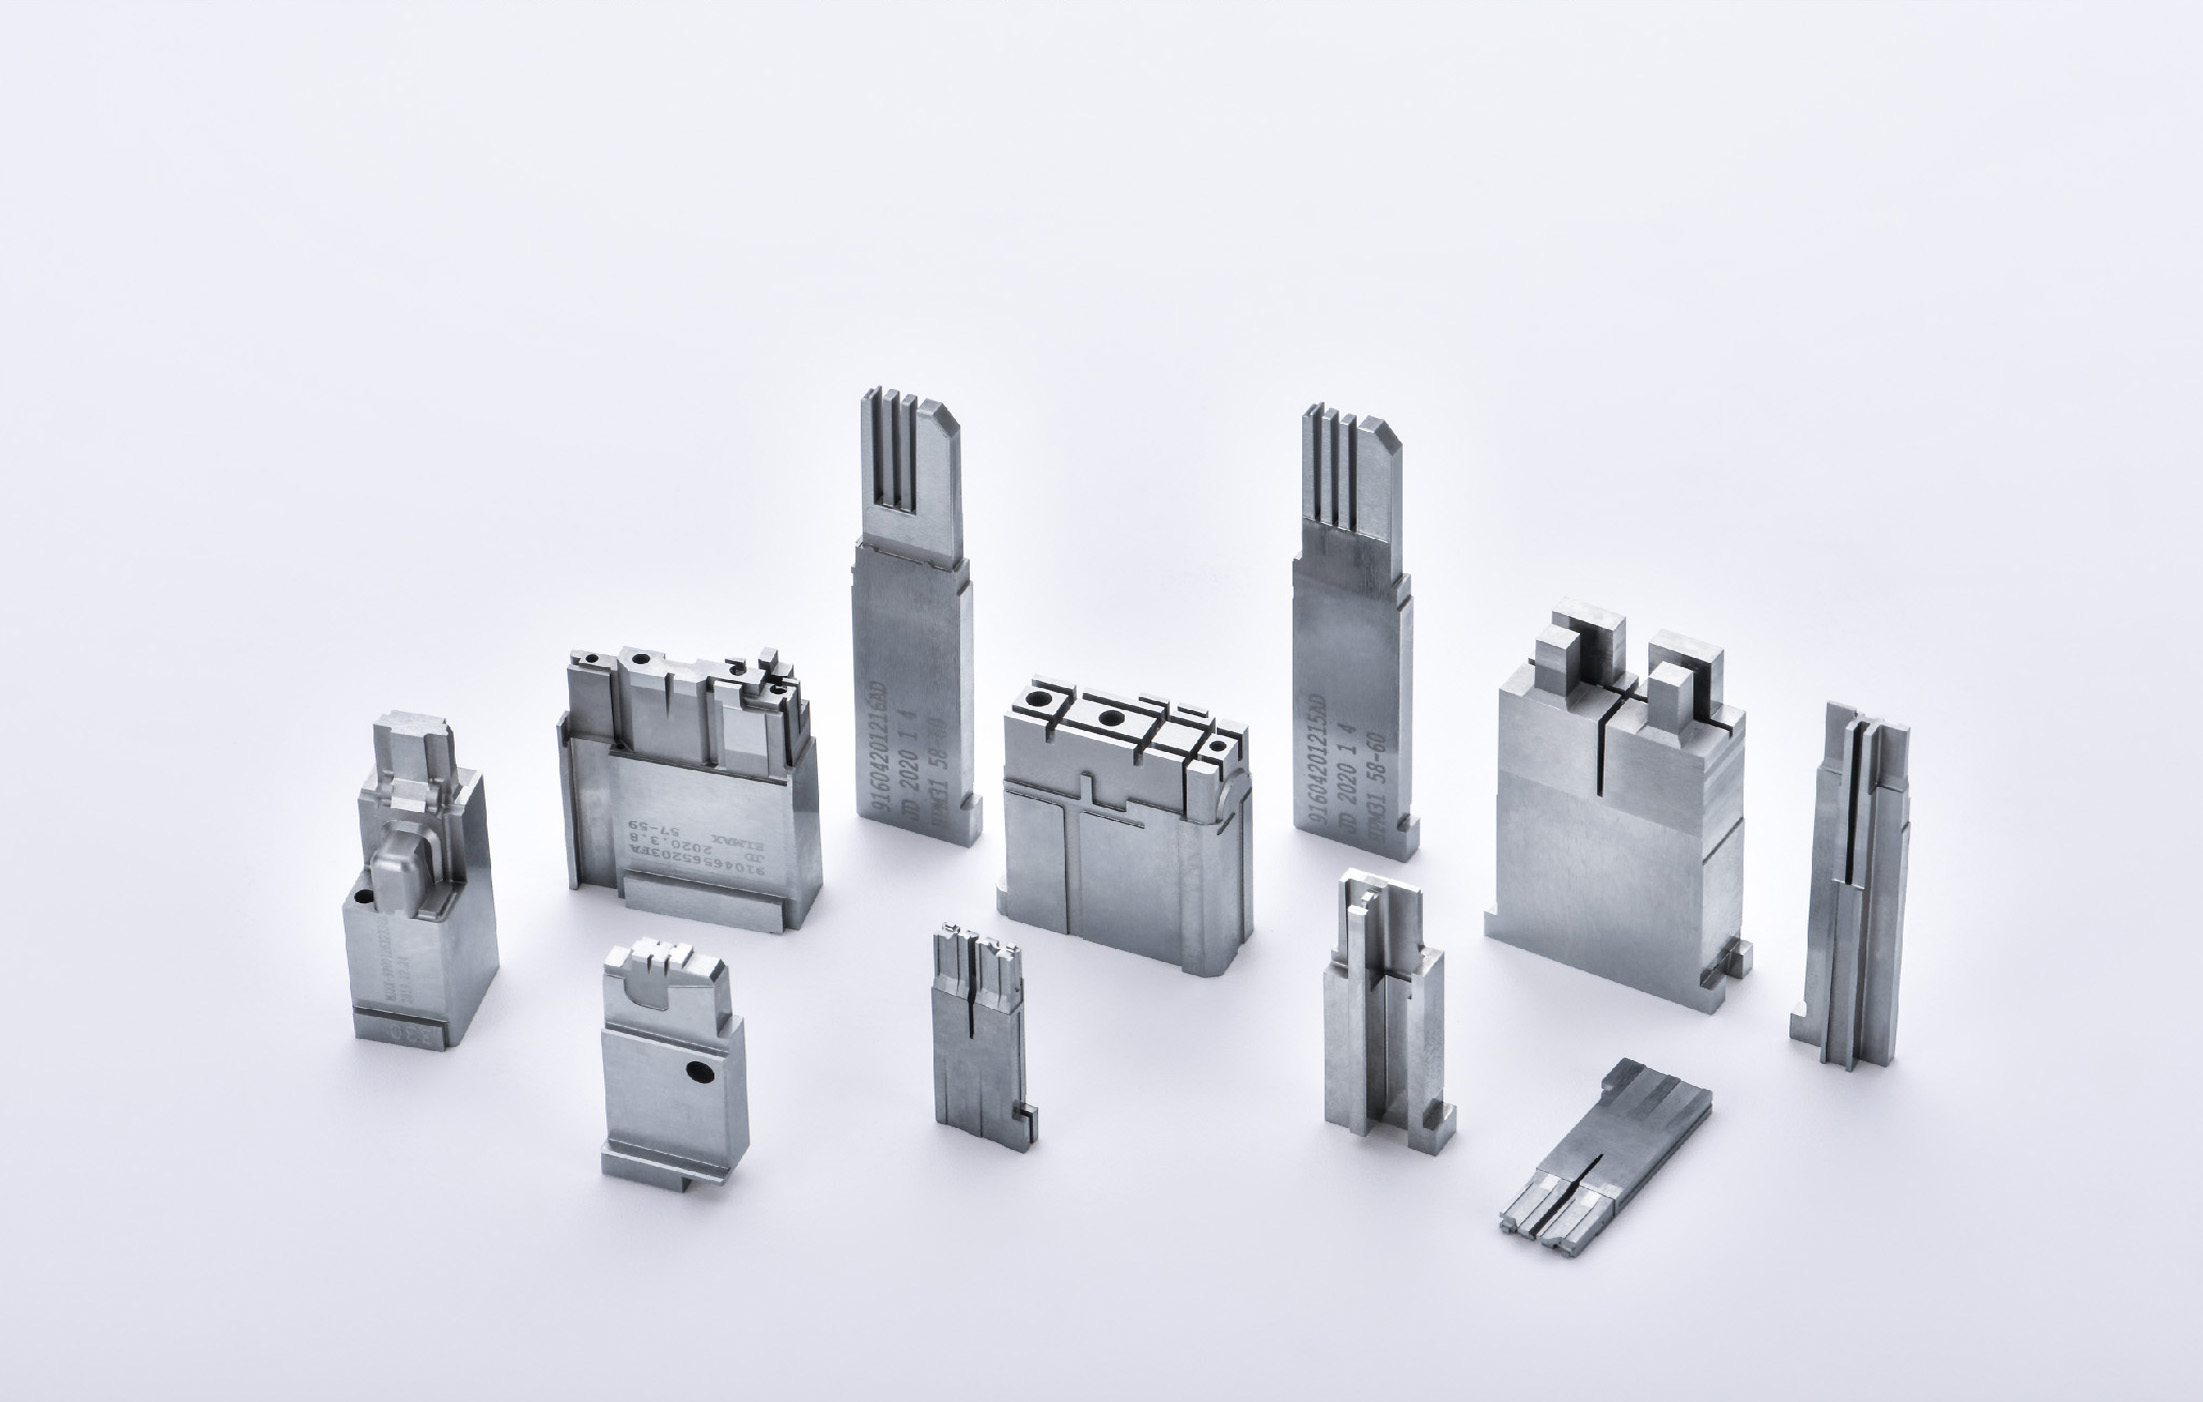
Die casting mold precision parts | |
Product Name | Die casting mold precision parts |
Brand Name | Fair Shine |
Place of Origin | Dongguan, Guangdong, China |
Specification | Customized on Request |
Customization | Material, size, shape, convex and concave marking, coating, laser engraving mark and packing are all customizable. |
Product Material | Carbide.ASP23 Vanadis.CPMRTXM4.SKD11SKD61HSSA2M2D2SUJ2.S45C.ect |
Standard | DIN ANSI BS JIS |
Tolerance | ±0.002mm |
Surface Treatment | TiCNTiN,Aitain,Ticrnnitriding Black oxygened Black coating etc available |
Polishness | Close to Ra0.2 Hardness Depends on material(HRC60~94) |
Hardness | Depends on material(HRC40~74) |
Shaping Mode | Grinding, wire cutting, EDM, cnc machining, cnc turning, cnc Milling |
Application | Machinery Parts and Molds |
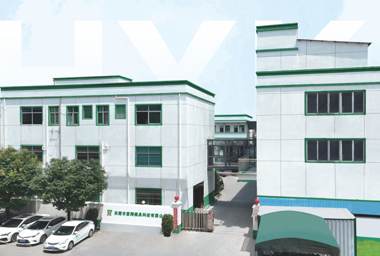
Dongguan Huixiang Mold Technology Co., Ltd. is located in the factory building No. 12, 4th Street, Yuwuwusong Industrial Zone, Dongcheng Street, Dongguan City. It specializes in the production and operation of high-precision hardware, plastic, automobile, die-casting and other mold accessories.
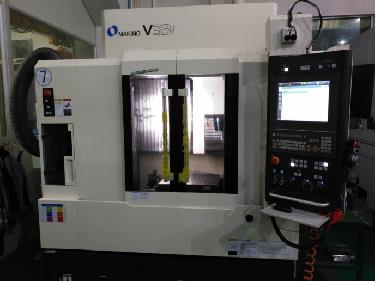
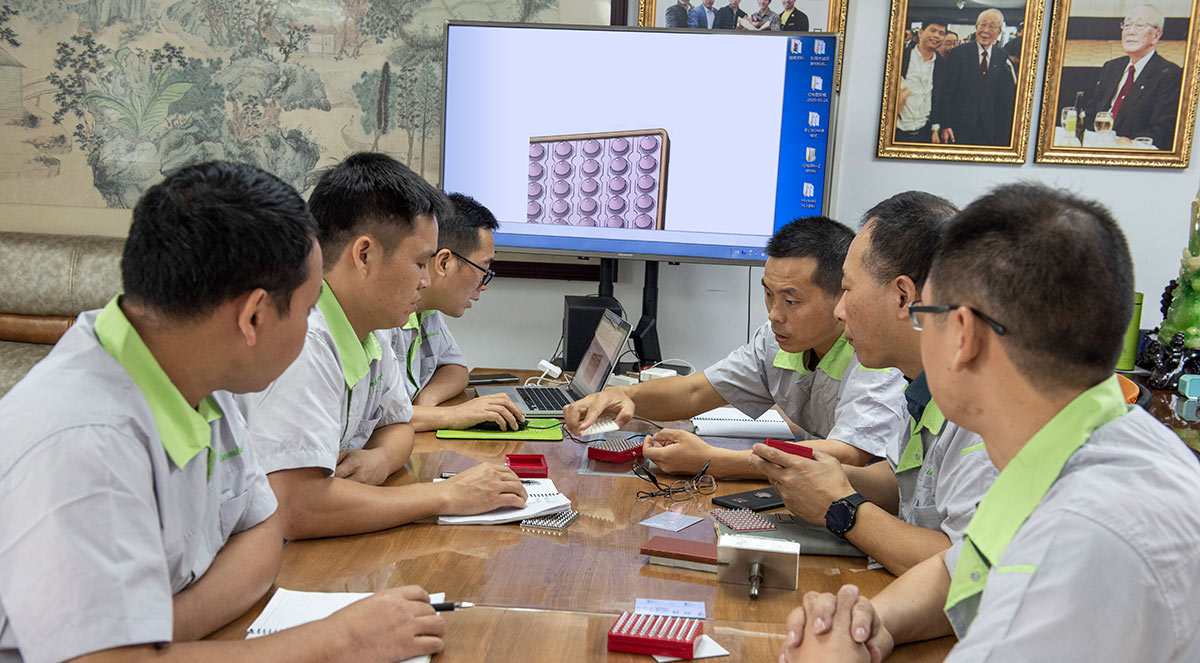
The company has advanced processing equipment, complete testing instruments and a high-quality technical team. Using the current complete logistics and distribution center, the products are sold to various regions across the country.
Dongguan Huixiang Mold Technology Co., Ltd. mainly produces: SKD61, SKD11, DC53, SKH51, SKH-9, ASP23 and other high-speed steel materials such as T-type punches, A-type punches, three-level punches, parent punches, and tooth extraction Punch, bevel punch, guide punch, special-shaped punch (square, hexagonal, elliptical), needle gauge, contour screws, contour sleeves, positioning pins, lifting pins, circular auxiliaries, guide posts and bushings , A-type tie rods, C-type tie rods, back pins, support pins, flat thimbles, sleeves, PIN pins, terminal mold inserts, connector mold inserts, hardware/plastic mold precision mold cores and other customized special-shaped parts.
Dongguan Huixiang Mold Technology Co., Ltd.'s product raw materials are all sourced from Japan, Germany, and Sweden, with stable performance. The heat treatment is provided with supporting services from professional manufacturers, and is equipped with advanced production equipment and professional technical personnel.
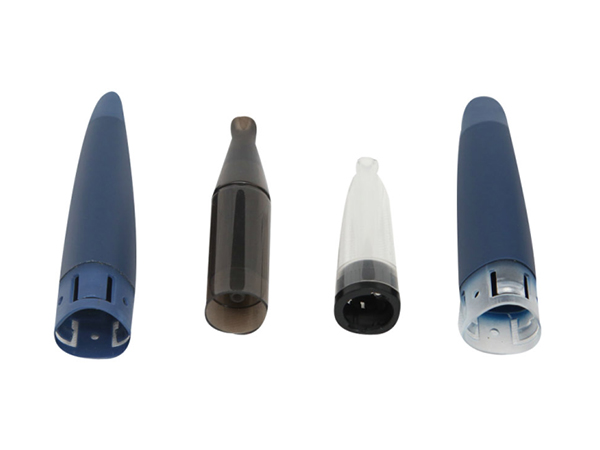
1. Pen making/cosmetics/packaging products: pen model refills/pen cap accessories/pen refill thread inserts/lipstick series/spray molds;
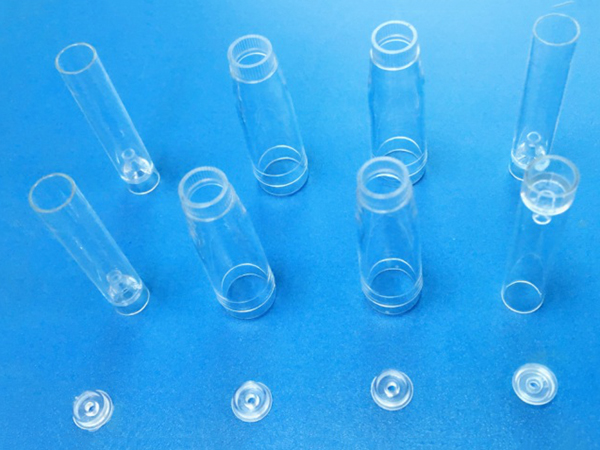
2. Medical packaging equipment products: syringe core/syringe core (combination (pieces)/test tube core/medical packaging bottle cap screw core/drawing cover core and push plate cover; front and rear mold cores such as upper and lower caps of mascara;
3. Home appliances, automotive machinery products: self-lubricating wear-resistant blocks (high-strength brass Add graphite)/No oil self-lubricating guide bushing, movable core assembly (inclined top seat)/guide column assistant/positioning column, etc.;
4. Bushings, die inserts, lower molds, CNC Customized standard and non-standard precision stamping mold accessories such as concave molds, special-shaped bushings, contour sleeves, floating pins, cross pin floating pins, guide lifting pins, tungsten steel punches, etc.;
5. Guide pins, positioning pins, stoppers Standard and non-standard customization of high columns, limit columns, etc.;
6. Drilling die sets, beryllium bronze molds, diamond pins, positioning pins, countersunk hole pins, ejection pins, pins, connecting screws, material blocking shafts, blocking Customized mechanical parts such as material sleeves and bushings;
7 . Guide post guide bushing, GP auxiliary guide post, GP auxiliary guide bushing, SRP ball guide post guide bush, SGP sliding guide post guide bush, discharge plate guide post guide bush, TRP detachable guide post guide bush, independent guide post , non-standard guide posts and bushings and other cold stamping mold accessories;
8. Non-standard customization of SKH51 thimbles, SKD61 thimbles, supporting pins, flat thimbles, shooting pins, cylinder pins, push tubes, imported material thimbles and cylinder cylinders;
What is the definition and classification of mold parts grinding?
In recent years, with the development of the machinery industry, grinding has gradually become mechanized. Grinding is a finishing process in the processing of mold parts. Grinding is usually done manually, with abrasives added between the grinding tool and the grinding surface to remove an extremely thin metal layer from the surface of the part, so that the workpiece can obtain a high-precision and high-smooth surface. The surface grinding of mold parts includes the surface and the inner hole. According to the shape of the parts, there are multiple grinding methods, and the mechanical equipment used is also different. For example, cylindrical mold accessories are divided into integral grinding sleeves and adjustable grinding sleeves.
General classification of mold parts grinding
1. Wet grinding: Also known as sand-coated grinding, liquid abrasive is continuously added or coated on the grinding surface, and the abrasive continuously slides and rolls between the workpiece and the grinding tool, forming cutting motion. Wet grinding is generally used for coarse grinding.
2. Semi-dry grinding: similar to wet grinding, the abrasive used is paste-like grinding paste. Grinding can be done by hand or on a grinder.
Characteristics and purposes of mold parts grinding
Most general grinding is done manually or semi-manually. The equipment is simple, easy to operate, low in cost and easy to maintain. The quality and accuracy of mold parts are also the goals pursued by enterprises. This is also one of the reasons for fierce competition among industries. With the continuous improvement of technical requirements, the processing requirements of mold parts are also constantly improving.
The specific purposes of mold grinding are as follows:
1. Improve surface finish.
2. The processing equipment is streamlined and the accuracy requirements are not high.
3. Obtain precise dimensions and precise geometric shapes.
4. After grinding, the surface finish of the mold parts is improved, thereby significantly improving the corrosion resistance and wear resistance of the parts.
When some molds, such as plastic molds, are working, due to the presence of chlorine, fluorine and other elements in the plastic, highly corrosive gases such as HCI and HF are decomposed after heating, which erodes the surface of the mold cavity, increases its surface roughness, and aggravates wear and failure.
Molding classification of precision plastic molds
( 1)The plastic is first added to the heating barrel of the injection machine. The plastic is heated and melted. Driven by the screw or plunger of the injection machine, it enters the mold cavity through the nozzle and mold pouring system. It is hardened and shaped due to physical and chemical effects to become injection molding. products. Injection molding consists of a cycle consisting of injection, pressure holding (cooling) and plastic part demoulding processes, so injection molding has cyclical characteristics. Thermoplastic injection molding has a short molding cycle, high production efficiency, and little wear on the mold by the melt. It can mold large quantities of plastic parts with complex shapes, clear surface patterns and markings, and high dimensional accuracy; however, for plastic parts with large changes in wall thickness, parts, it is difficult to avoid molding defects. Anisotropy of plastic parts is also one of the quality problems, and all possible measures should be taken to minimize it.
(2) Compression molding
Commonly known as press molding, it is one of the earliest methods of forming plastic parts. Compression molding is to add plastic directly into an open mold cavity with a certain temperature, and then close the mold. Under the action of heat and pressure, the plastic melts and becomes a flowing state. Due to physical and chemical effects, the plastic hardens into a plastic part with a certain shape and size that remains unchanged at room temperature. Compression molding is mainly used for molding thermosetting plastics, such as phenolic molding powder, urea-formaldehyde and melamine formaldehyde molding powder, glass fiber reinforced phenolic plastics, epoxy resin, DAP resin, silicone resin, polyimide, etc. It can also mold and process unsaturated polyester mass (DMC), sheet molding compound (SMC), prefabricated monolithic molding compound (BMC), etc. Generally speaking, compression molds are often divided into three categories: overflow type, non-overflow type, and semi-overflow type according to the matching structure of the upper and lower molds of the compression film.
(3)Extrusion molding
It is a molding method that allows plastic in a viscous flow state to pass through a die with a specific cross-sectional shape under high temperature and a certain pressure, and then shape it into a continuous profile with the required cross-sectional shape at a lower temperature. The production process of extrusion molding includes preparation of molding materials, extrusion shaping, cooling and shaping, pulling and cutting, and post-processing of extruded products (tempering or heat treatment). During the extrusion molding process, pay attention to adjusting the temperature of each heating section of the extruder barrel and the die die, screw rotation speed, traction speed and other process parameters in order to obtain qualified extrusion profiles. Special attention should be paid to adjusting the rate at which the polymer melt is extruded from the die. Because when the extrusion rate of molten material is low, the extrudate has a smooth surface and uniform cross-sectional shape; but when the extrusion rate of molten material reaches a certain limit, the surface of the extrudate will become rough and lose its luster. , shark skin, orange peel lines, shape distortion and other phenomena appear. When the extrusion rate is further increased, the extrudate surface becomes distorted and even detaches and breaks into melt fragments or cylinders. Therefore, control of the extrusion rate is crucial.
(4) Pressure injection molding
Also known as die casting. It is to add the plastic raw materials into the preheated feeding chamber, then put the pressure column into the feeding chamber to lock the mold, and apply pressure to the plastic through the pressure column. The plastic melts into a flowing state under high temperature and high pressure, and enters the mold cavity through the pouring system. Gradually solidifies into plastic parts. This molding method is also called transfer molding. Pressure injection molding is suitable for plastics that are lower than solid. Plastics that can be compression molded in principle can also be molded by injection molding. However, the molding material is required to have good fluidity in the molten state when it is lower than the solidification temperature, and has a larger solidification rate when it is higher than the solidification temperature.
(5)Blow molding
It is to fix the tubular or sheet blank made by extrusion or injection and still in the plasticized state in the molding mold, and immediately introduce the compressed air to force the blank to expand and stick to the wall of the mold cavity. A processing method in which the desired hollow product is obtained by demoulding after cooling and shaping. Plastics suitable for hollow molding are high-pressure polyethylene, low-pressure polyethylene, hard polyvinyl chloride, soft polyvinyl chloride, polystyrene, polypropylene, polycarbonate, etc. According to the different parison molding methods, hollow molding is mainly divided into two types: extrusion blow molding and injection blow molding. The advantage of extrusion blow molding is that the structure of the extruder and extrusion blow mold is simple. The disadvantage is that the wall thickness of the parison is inconsistent, which can easily cause uneven wall thickness of plastic products. The picture on the right is a schematic diagram of the extrusion blow molding principle. The advantage of injection blow molding is that the wall thickness of the parison is uniform and there are no flash edges. Since the injection parison has a bottom surface, there will be no seams and seams at the bottom of the hollow product, which is not only beautiful but also high in strength. The disadvantage is that the molding equipment and molds used are expensive, so this molding method is mostly used for mass production of small hollow products, and is not as widely used as the extrusion blow molding method.
In addition, there are foam plastic molding molds, glass fiber reinforced plastic low-pressure molding molds, etc.


Five steps in the production of precision plastic molds
First, effectively manage product data management, process data management, and drawing document management: Precision mold processing, effective mold product data management, process data management, and drawing document management can ensure the comprehensiveness of the files and the consistency of the drawing versions nature; so that drawings can be effectively shared and effectively queried and utilized. A complete computer database for file management can be established to collect and utilize the design drawings accumulated by the design department, as well as the scattered and previously scattered and isolated information, to prevent 2D and 3D confusion due to design drawing files, original, changed and repaired versions. Confusion, inconsistency between 3D model and 2D drawing data, irregularity and confusion in 2D drawing design cause problems that are difficult to detect and correct in time, causing the mold to be modified, reworked, or even scrapped, increasing the manufacturing cost of the mold and lengthening the mold manufacturing process. The production cycle affects the delivery period.
Second, maintain the consistency and integrity of plastic mold drawings, processing technology, and physical data: through effective, meticulous, and strict testing methods, ensure the consistency and completeness of mold drawings, processing technology, and physical data sex.
Third, the design and manufacturing costs of each set of plastic molds must be summarized in a timely manner: by effectively controlling the issuance of work tickets in the workshop and effectively managing the scrapping of tools; through accurate mold structure design, efficient mold parts processing and accurate The inspection of spare parts will effectively reduce the additional costs caused by mold design changes and maintenance, thereby obtaining the actual cost of each set of molds and effectively controlling the quality of the molds.
Fourth, overall planning: organically organize and integrate information such as planning, design, processing technology, workshop production status, human resources, etc. for overall planning, thereby effectively coordinating planning and production, and effectively ensuring the quality of plastic molds and on-schedule delivery.
Fifth, develop a complete and practical plastic mold production management system: Develop a complete mold production management system to realize computer information management of product data management, process data management, plan management, and progress management of the mold production management process. The system includes plastic mold production plan formulation, mold design, process formulation, workshop task assignment and product inspection, warehouse management, etc., enabling all-round tracking management of mold manufacturing and related auxiliary information from plan formulation to completion and delivery.
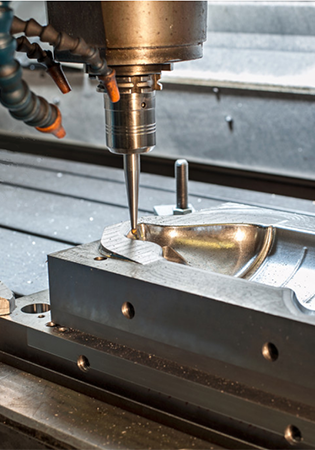
Precision mold parting surfaces are not allowed to be manually polished. How to achieve this?
Now, many foreign businessmen have put forward higher requirements for manufacturing molds. It is required that the molds provided by the mold manufacturer must not have any traces of manual polishing on the parting surface, but many domestic factories cannot meet this requirement. In fact, generally mid-range molds (small and medium-sized) should meet this requirement. This requirement is one of the comprehensive indicators to examine the mold manufacturer's design level, equipment level, process level, management level, quality assurance system and employee quality.
The so-called inspection of the design level of precision molds refers to the rationality of the design and whether the optimization of turning complexity into simplicity is optimal. In this regard, there are still great differences among Chinese mold manufacturers.
The so-called inspection of equipment level is to see whether you have regular CNC equipment and use the correct process for processing. At present, the world's most advanced mold manufacturing equipment can be seen in China. Generally speaking, the equipment of Chinese mold manufacturers is basically OK.
For management level and quality assurance system. It can only be said that more and more companies realize its importance.
Here we focus on some experiences of meeting this requirement in processing technology.
First of all, the mold parts should be finished after working in the machining center for 3-4 hours for the best effect. Secondly, it is necessary to solve the problem of deformation of mold parts due to internal stress during all processing processes, so as to minimize the deformation during processing.
When cutting mold parts, due to the processing tools, electrodes, cutting wires, cold and heat changes, the force exerted on the material by fastening tools, etc., the internal stress generated by the processing is constantly accumulated inside the material being processed; at the same time, the internal stress Stress is constantly accumulating in an attempt to be released. When the accumulated internal stress reaches a considerable level, it overcomes the rigidity of the material, changes the shape of the workpiece, and causes deformation. It is inevitable that the material being processed will accumulate internal stress during the cutting process, and it is also inevitable that the internal stress will cause deformation of the mold parts. We know that the deep hole drilling, grinding, rough machining and electrical machining stages, as well as the welding process stage, accumulate the most internal stress in mold parts.
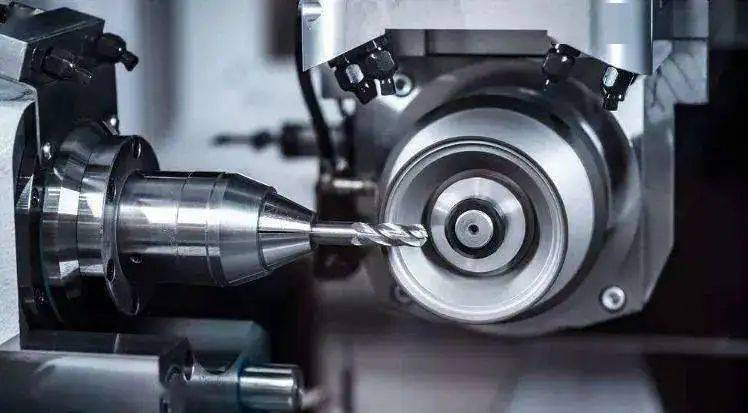
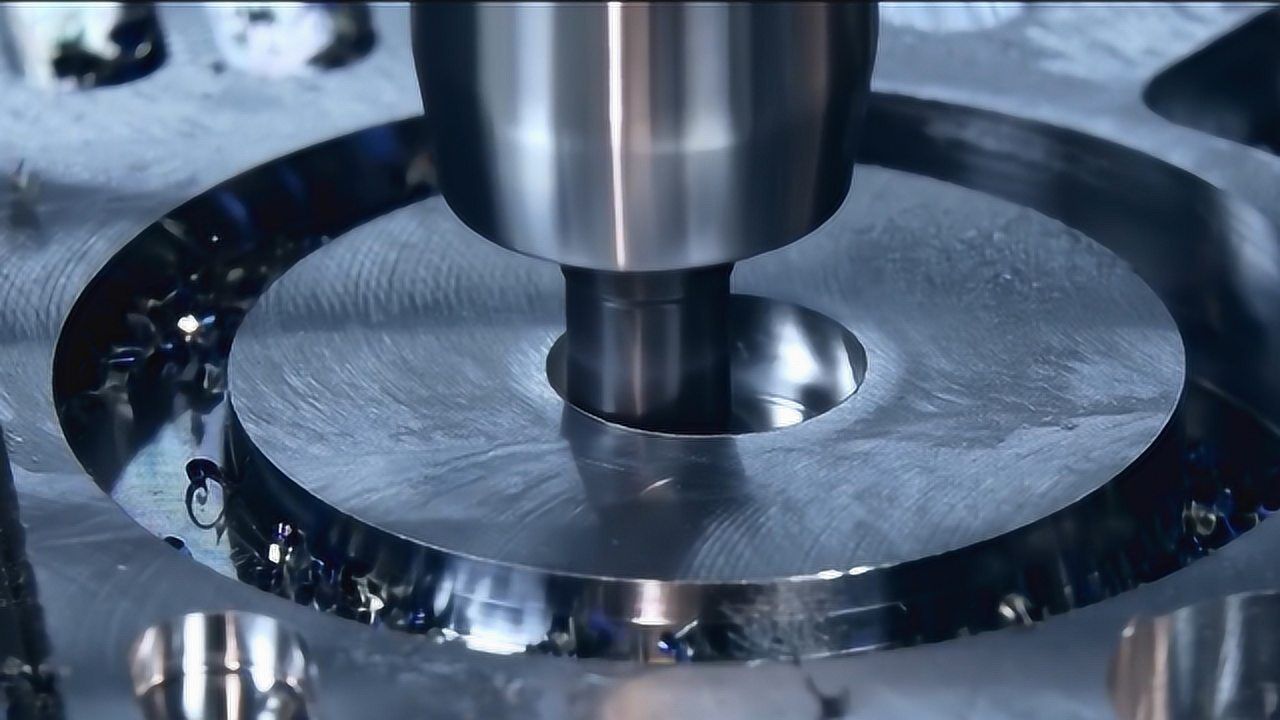
Overcome deformation caused by internal forces in mold parts. There are no more than two ways: eliminating internal stress and mechanical reprocessing or a combination of both.
To eliminate internal stress, heat treatment is generally used, which is what we usually call "stress elimination treatment". Generally, after steel parts enter the furnace, they are gradually heated to about 590°C within 6-12 hours, kept warm for 2-6 hours (depending on the size and thickness of the workpiece, and the local seasonal temperature at that time), and then cooled in the furnace. This process generally takes 24-48 hours. Generally, after aluminum parts enter the furnace, they are gradually heated to about 290°C within 6 hours, kept warm for 2-4 hours (depending on the size and thickness of the workpiece, and the local seasonal temperature at that time), and then cooled in the furnace. This process usually takes 24 hours.
During machining, especially rough machining, the force on the fastening tool must be uniform. Generally, multiple passes, diagonal fastening, and tightening-loose-tightening are used. The processing method we are generally accustomed to is to identify a datum plane, which remains unchanged from beginning to end during the processing process, and use it as a basis to process other parts. In fact, due to the deformation caused by the accumulation of internal stress during processing, this datum plane is also deforming. The deformation of the datum will cause many changes in other shapes. Trimming during assembly will produce many changes, which cumulatively affect the quality and life of the mold.
In order to make the performance of the manufactured mold meet the design requirements, we should solve the common problem in the mold manufacturing process of overcoming the deformation caused by internal stress during the processing.
We usually select several surfaces in different directions as observation surfaces for self-detection of the degree of three-dimensional deformation during rough machining. If there is no ready-made one, it can be attached and then removed during finishing. The additional observation surface cannot be too small, otherwise the observation will be inaccurate. The principle is: make it as big as possible and easy to remove.
For example: on a part with a three-dimensional size of 1000×800×300mm, it is generally best to set the length of the observation surface not less than 900mm, 600mm, or 260mm. The smaller the observation surface, the greater the error between the measured value and the actual value.
Generally speaking, if the length of the observation surface is only 50% of the actual workpiece length, the measured value will differ by 1-2 times from the actual length.
After rough machining is completed, after measuring the conditions of each observation surface and recording the data, try to completely loosen the fastening tool, but do not change the position of the workpiece on the work surface, then measure the actual data of each observation surface of the workpiece, and compare the two phases. , generally you can know the deformation of the workpiece being processed.
Secondary tightening: Tighten each fastening tool again until it does not move during processing. This is the hardest. Then perform a small amount of cutting on each observation surface until it can correctly play the true and correct role of the second datum (commonly known as the transition datum).
Turn over the workpiece: According to the deformation data measured after rough machining, when trimming the original datum surface, the workpiece must be padded flat. If processed without padding, the shape of other parts will be offset, resulting in excessive cutting in some parts, no cutting in some parts or even negative concavity. This processing is to overcome the deformation of the datum plane so that it can continue to function as the first datum plane.
After the first "reaction processing" (after rough machining), re-machin the datum plane. It is different from the following process.
The processing of the first datum plane causes errors between it and other planes. In order to resolve this contradiction, the workpiece is turned over and tightened again: this time, it is best to place the workpiece in its original position. Test each original testing surface that has been processed twice. The error between it and the new datum is usually caused by over-tightening during secondary tightening. With the accumulation of experience, this error will become smaller and smaller. Semi-finishing is performed on all parts of the original processing. After completion, check. If there is no problem after inspection, it will be transferred to the next process.
If an appropriate machining allowance is reserved on the parting surface in advance, before polishing, use a three-dimensional coordinate machine to measure the three-dimensional reference (space 0 position) of the cavity, and then process the reference surface and parting surface for the third time. Here, an issue needs to be emphasized. Our use of 3D software is now very common. However, there are two design benchmarks we use: center 0-bit benchmark and corner 0-bit benchmark. The former is popularized with the development of CAD. For beginners, it is slower to get started, but it is very accurate and less prone to errors. The latter is to follow the traditional design method, which is prone to errors. What I refer to here is "using a three-dimensional coordinate machine to measure the three-dimensional datum of the cavity (space 0 position)", which refers to the design and testing using the "center 0 position datum". If you experience it, you will understand what I mean.
Generally, by following this process, you can overcome the deformation caused by the internal stress caused by processing. The parting surface can avoid the manual flying process.
Our Services
1. Specialized in precision mold part ,inquiries will get highly attention and be prompt response.(within 24 hours).
2. Advanced facilities and experienced engineers, rich experience in mold parts.
3. Guaranteed quality, superior material quality compared to all other.
4. Customer oriented, efficient solution to control the cost for our client.
5. One-stop service, any questions can be solved at the first time by us.
6. Each part has been got 100% inspection before shipment.

Our adavanges
1. Clean and tidy workshop.
2.Strick and serious manangement, skilled and expericenced technicians.
3. Various raw material(imported and Chinese) to meet different needs of customers.
4.Equipment of high pricision.( Surface grinding,Sodick Wire-cutting.drilling machine).
5.The QC go along with all the production processes in our factory.
6. You can use English or Japanese for cummunication

Payment Terms
T/T,Paypal,Western Union,50% deposit, balance before shipment is available
Package:PE bag with anticorrosive oil,foaming film with carton,or wooden box according to customer's requirement.
Delivery:Delivery time is usually 7-15 working days for type of ejector pin,specific time is according to quantity.
Shipping:We ship using express such as DHL, UPS, FEDEX etc. or according
to customer's requirement . It takes about 3-5 days to arrive your front
door, and proof of shippments are provided with a shipping or tracking
number. And we ship by occean shippment for larger quantity items,
it will be economic for customers.

Fair Shine industrial (Hong Kong) Co., Limited
To provide customers with the most comprehensive precision mold parts solutions.
+86 189 2682 6341
Block 1, No. 12, Wusong 4th Street, Yuwu Industrial Zone, Dongcheng District, Dongguan, Guangdong, China
Copyright © 2025 Dongguan Huixiang Mold Technology Co., Ltd all rights reservrd.
Technical support: HuaShang